Introduction
Living in the Bay Area means building with earthquakes in mind. While we can’t predict when the next big one will hit, we can ensure our homes are prepared. Earthquake-resistant wall framing isn’t just about following building codes—it’s about protecting your family and your investment. From Richmond to Vacaville, Bay Area homeowners need construction that can flex and move without failing. This step-by-step guide walks you through the essential techniques for framing walls that can withstand seismic activity, whether you’re building new, adding an ADU, or reinforcing an existing structure.
Step 1: Start with a Solid Foundation Connection
The connection between your wall and foundation is critical for earthquake resistance. Begin by ensuring your sill plate is properly anchored to the concrete foundation with anchor bolts spaced no more than 6 feet apart, with bolts no farther than 12 inches from each end of the plate. Use a pressure-treated sill plate to prevent moisture damage, and install a sill seal or gasket between the concrete and wood to create a moisture barrier. In the Bay Area’s seismic zones, consider using larger diameter anchor bolts (5/8 inch minimum) and adding washers to distribute the load more effectively.
Step 2: Choose the Right Lumber and Hardware
Select kiln-dried lumber graded for structural use, typically Douglas Fir or Southern Yellow Pine rated at 1,500 psi or higher. For earthquake resistance, use 2×6 studs instead of 2×4 when possible, as they provide greater lateral strength. Space studs 16 inches on center rather than 24 inches for better load distribution. Stock up on galvanized hardware including hurricane ties, framing anchors, and structural screws. In coastal areas like Benicia and Richmond, galvanized materials are essential to prevent corrosion from salt air.
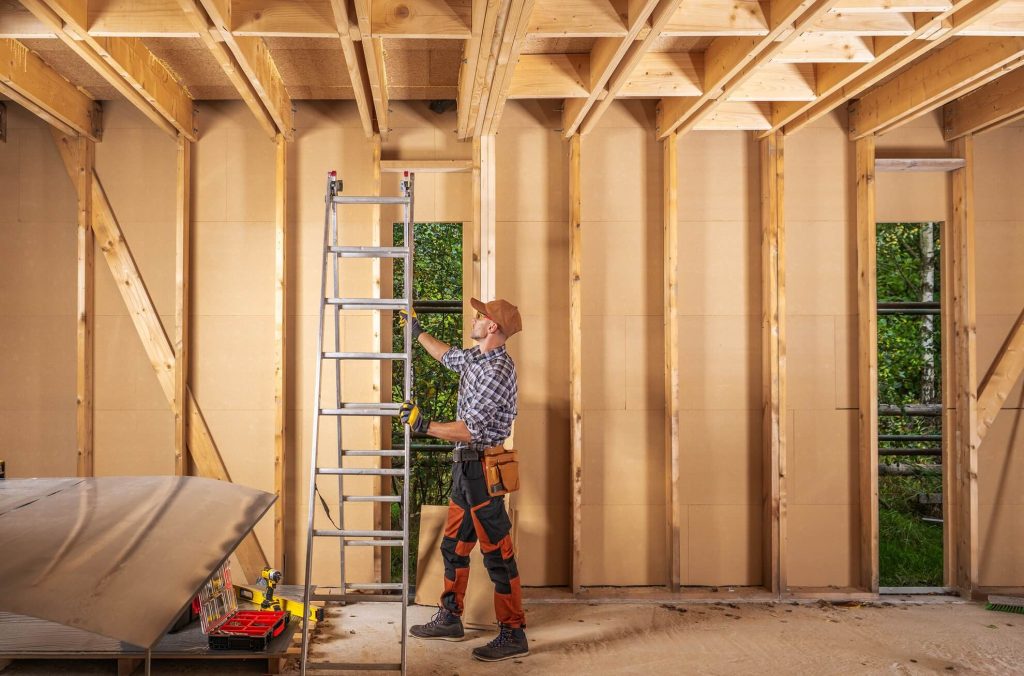
Step 3: Frame Walls with Seismic Connections in Mind
When framing your walls, install studs with the crown facing the same direction to prevent warping. Use structural adhesive along with nails for the bottom plate connection to increase holding power. Install blocking between studs at mid-height to prevent buckling during lateral movement. For openings like doors and windows, use properly sized headers and double up jack studs to transfer loads effectively. In areas like Napa and Fairfield where expansive soils are common, ensure your framing can accommodate slight foundation movement without cracking.
Step 4: Install Structural Sheathing Correctly
Structural sheathing is your wall’s first line of defense against earthquake forces. Use 7/16-inch minimum OSB or 15/32-inch plywood, installed with 8d nails spaced 6 inches on center at panel edges and 12 inches in the field. Ensure panels are installed with the long dimension perpendicular to studs for maximum strength. Leave a 1/8-inch gap between panels to allow for expansion. For critical areas like shear walls, consider using structural sheathing panels specifically rated for seismic loads.
Step 5: Add Hurricane Ties and Metal Connectors
Install hurricane ties or approved metal connectors at every stud-to-plate connection. These galvanized steel connectors prevent the wall from lifting off the foundation during seismic activity. Use the fasteners specified by the connector manufacturer—typically 1.5-inch galvanized nails or structural screws. For two-story construction common in Oakland and Vacaville developments, install additional ties connecting the first floor walls to the second floor framing system.
Step 6: Plan for Proper Bracing and Shear Walls
Identify locations for shear walls based on your structural engineer’s plans or building code requirements. Shear walls need continuous load paths from roof to foundation, with proper connections at each level. Install let-in bracing or metal strap bracing in walls that aren’t designated as shear walls to provide additional lateral stability. In retrofit situations, adding plywood sheathing to existing walls can significantly improve earthquake resistance.
Step 7: Coordinate with Other Trades
Before closing up your walls, coordinate with electrical and plumbing contractors to minimize framing cuts that could weaken the structure. When cuts are necessary, follow proper procedures for notching and drilling, and add reinforcement as needed. Install fire blocking and insulation without compromising the structural integrity of your earthquake-resistant framing. Schedule inspections at appropriate stages to ensure all work meets Bay Area seismic requirements.
Step 8: Final Inspection and Quality Control
Before proceeding to the next construction phase, conduct a thorough inspection of your earthquake-resistant framing. Check that all connections are secure, hardware is properly installed, and structural sheathing is correctly fastened. Verify that load paths are continuous from foundation to roof, and ensure all work complies with local building codes. Document any changes from original plans and obtain required approvals before proceeding.
Important Safety Considerations
Earthquake-resistant framing requires precision and expertise. Building codes in cities like Fairfield, Napa, and Oakland have specific requirements for seismic resistance that go beyond standard framing practices. Always work with licensed professionals who understand local conditions and requirements. Improper installation of seismic hardware can be more dangerous than not installing it at all, as it creates a false sense of security.
Conclusion
Building earthquake-resistant walls requires careful attention to detail and proper execution of proven techniques. From foundation connections to structural sheathing, every element must work together to create a system that can protect your home and family during seismic events. While this guide provides the essential steps, earthquake-resistant framing is complex work that benefits from professional expertise.
At Mana Construction Co., we’ve been building earthquake-resistant structures throughout the East and North Bay areas since 2017. Our team understands the unique seismic challenges facing Bay Area homeowners, from the rolling hills of Napa to the urban environments of Oakland and Richmond. Whether you’re planning new construction, an ADU addition, or seismic retrofitting of an existing home, we have the experience and expertise to ensure your project meets California’s highest seismic safety standards. Contact us today to discuss how we can help protect your most important investment with proven earthquake-resistant construction techniques.